Going to a conference can be really exciting and there are a million different things that you decide you want to do, and then you go home do little to none of it. I've gone to enough conferences now that I've learned to try and boil it down to a couple key takeaways. This time I have this blog as a platform to recap my learning and share my big takeaways.
I didn't really have any major pedagogical epiphanies from this conference, but really more of an affirmation of what I already do, with some cool little tools I can take and apply in my class. Below are 3 sessions I thought were useful to my practice. I've shared the links to their original presentations in the titles, and reflected it back to my practice.
Fair Use- Can I use it?
Nearly all of the tools and practices people are discussing brings up issues of "Can I use it?" Students, and teachers, often think that just because it's on the internet is free to use, but that's not the case. Creators of content inherently own copyright to their work, and there are laws about how, why, and when you can use it. What matters, is if the work you are using is "transformative." They gave the following quote to help determine this:Basically it all comes down to how much? How many? How long? If you are using someone's else's content it matters that you are using it in a novel way that will not compromise their actual or potential profit from said work. If you are using the work appropriately, it falls into fair use.
Transformativeness
“When a user of copyrighted materials adds value to, or repurposes materials for a use different from that for which it was originally intended, it will likely be considered transformative use; it will also likely be considered fair use. Fair use embraces the modifying of existing media content, placing it in new context.”
-Joyce Valenza
“Fair use is an argument, not a right”
Again if you can justify that you are transforming the work, you can use it. Use the questions above to verify it. Check out their slides for some interesting stories that emphasized how this has played out in court such as the work of Grateful Dead posters, or Shepard Fairey's colorization of the AP photo of Obama.
 |
| Transformative use. Source: Wikipedia |
My major take aways:
- I'm not going to get a cease and desist letter for using copyrighted material in my vodcasts so long as I keep them within our Learning Management System, and because I'm using them for educational purposes.
- My students creating their blogs MUST be sure to use copyright free material and learn to give proper attribution (at least a link) to their source. They also need to think of transformative use if they do want to use copyrighted material. As soon as a student publishes work online (which we want them to do, for many reasons), they fall into the spotlight of copyright. I've already been driving this home with my students and we spend a lot of time in the Rookie Module going over this, but I think all of this was really driven home with this presentation.
Next Generation Science Standards- From Know to Do
While the content is still being fine tuned for NGSS, what is known is that there are clear established process type skills. The presenter, Holly Steele, had some nice cards she made to illustrate this.
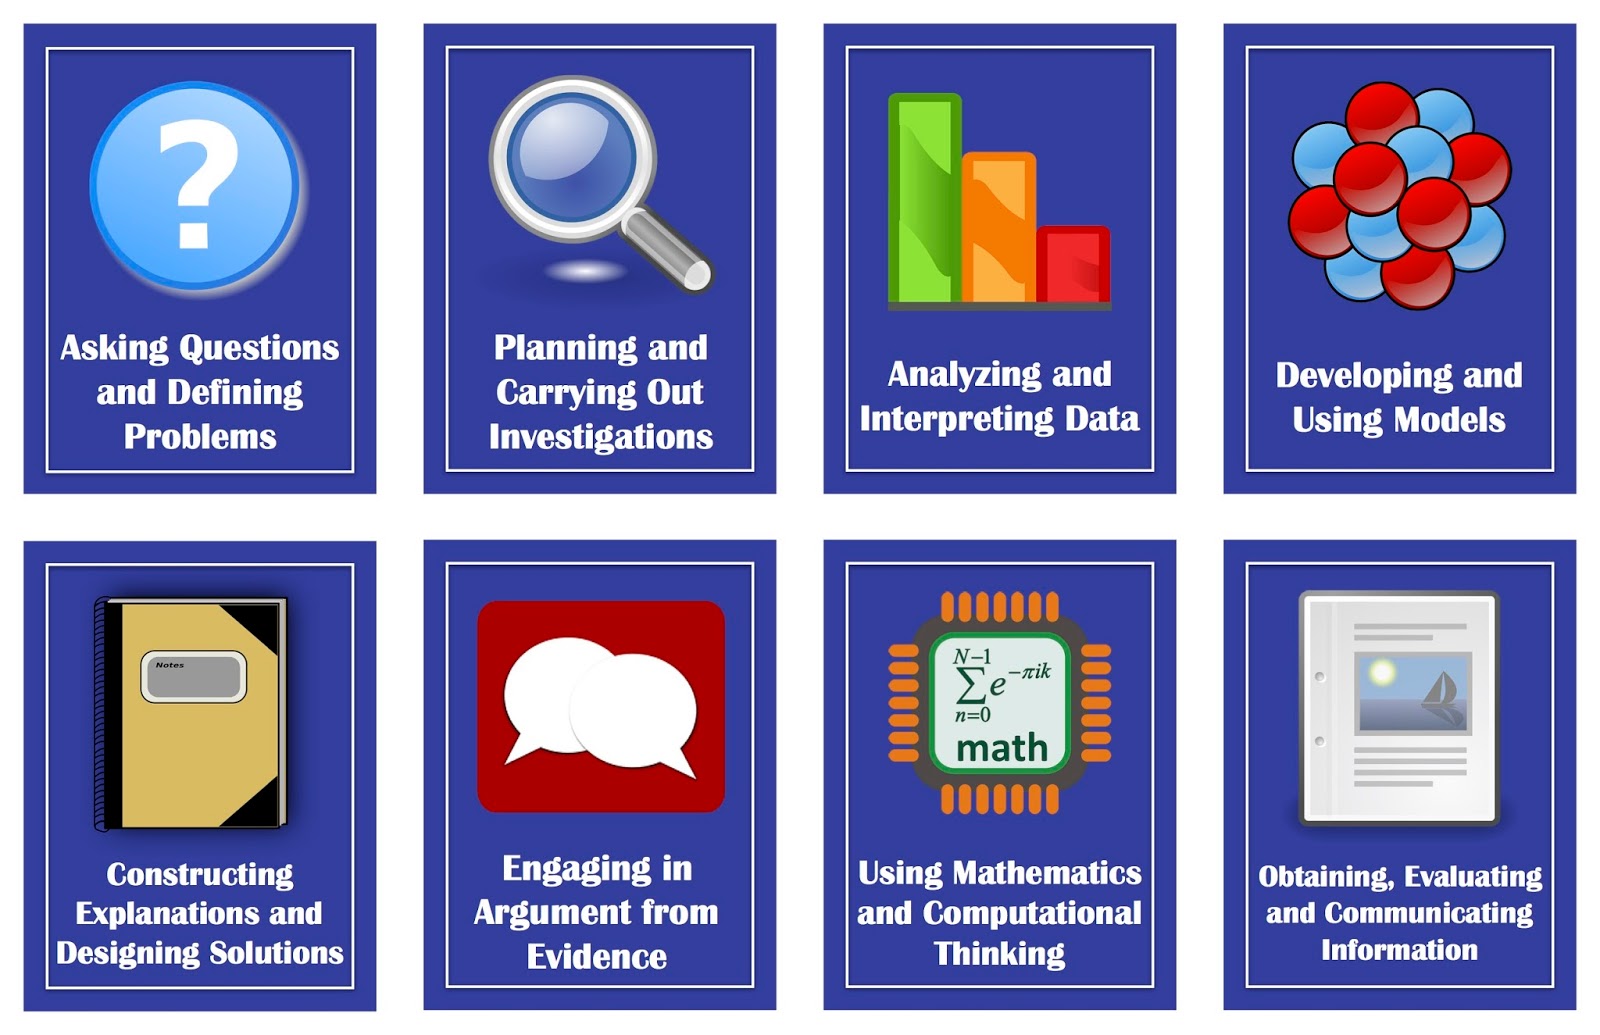 |
| Credit: Holly Steele From Know to Do Presentation |
Ms. Steele discussed a tool called Tuva Labs where students can quickly create graphs using various data sets. What I really like is that it allows them to drag data into x and y axis, choose different types of graphs, explore a variety of possible comparisons. This really lends itself to questioning, analysis and interpretation, and even corroboration with other data. While graphing clearly is an important skill, this tool can allow teachers to spend more time on analysis, and less on graphing.
https://tuvalabs.com
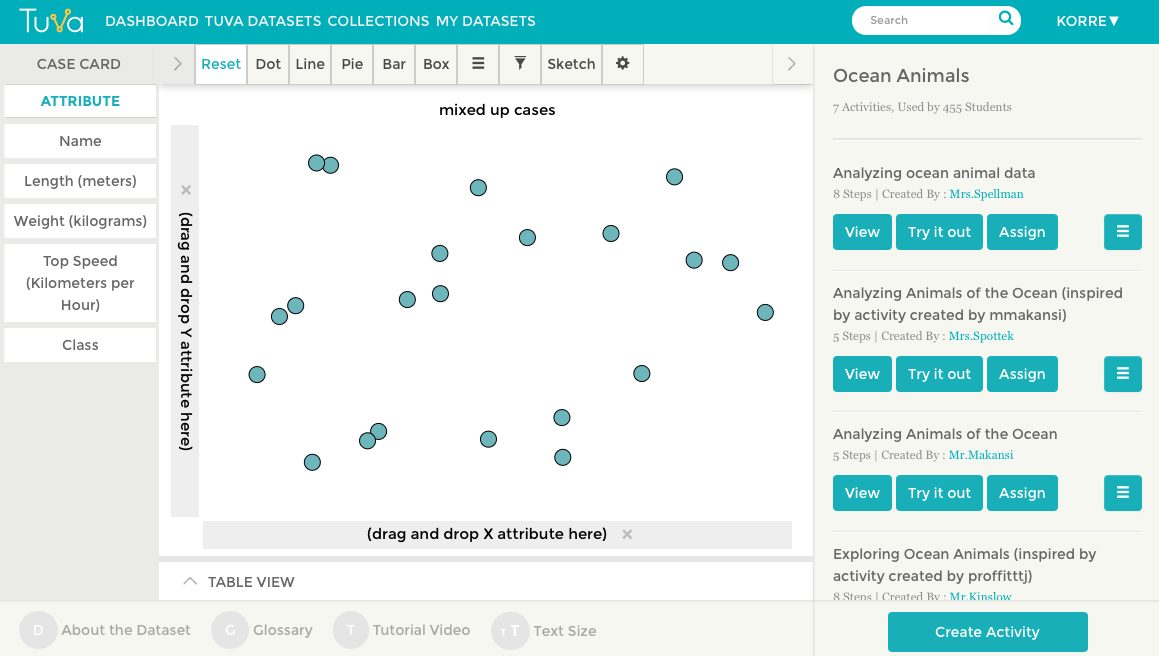 |
| Here's a screenshot of a simple data set. The attributes on the left can be dragged over. |
 |
| Once data attributes are added, titles can be added. |
Add Diagrams to Background Images
From: Beyond the Presentation: Creative and Innovative Uses for Slides
by Mellissa Oliver
This was a great workshop because it wasn't overly complicated. It was just some cool specific tools you can do with Google Slides. Her approach was that you can use just single slide in Google Slides for some simple powerful approaches. She also talked about more complicated things like creating animations with Slides. Check out her presentation in the link above for all of the different ideas. I'm going to talk about one of my favorite features.
Ever have kids label a diagram? Why not have them do it digitally? She gave the example of labeling the United States. The basic idea is to insert an image as part of the background so any labeling or adding on the slide won't interfere with template image. Below are some screenshots of the slide and what I did after playing with it.
 |
| Here's a screenshot of the example she gave. Start by selecting the "background" tab highlighted above. |
 |
| From here, you can google image search what you're looking for or upload a picture of your choice. |
 |
| Here's one I created. Once completed, share this slide with students, have them make a copy, edit however you like, and then they turn it in or save it as an image. |
 |
| Here's one she created with pre made text boxes that students only need to drag and drop. |
This is great for diagram labeling, graphic organizers, or really any kind of worksheet you normally use. Once the labeling is completed, students can save or export as an image. These images could be collected using a Google Form, integrated into a larger project, or any other kind of collaborative effort. For my class I would probably have them put it on their blogs to showcase their work.
Hopefully these are useful to you too. There's much more I can talk about from the conference, but it's helpful just to focus on three for now. If you try any of these or have ideas of your own, share in the comments!
